You've collected loads of positive G2 Reviews. Great job!
Now you want to add them to your Webflow website. But if you're not a developer or you've never done this before, knowing where to start can be difficult.
In this guide, we'll show you how you can add G2 Reviews to your website in 3 easy steps using a free tool called Senja.
This step-by-step guide will help you get up and running in the next 5-10 minutes. Let's get into it.
Why embed G2 Reviews on Webflow?
One word, credibility.
Adding G2 Reviews to Webflow provides instant social proof, enhances your SEO, increases trust and credibility, and leads to higher conversion rates.
It allows potential customers to see real opinions about your products or services directly on your site. It also improves your search engine rankings, getting you more traffic.
What is Senja?
Senja is a free tool that makes it easy to collect, manage and share your testimonials anywhere on the web.
Senja comes with 100s of ways to share your testimonials for free, including review widgets (ex. review sliders, carousels and walls), testimonials images, rich snippets and Walls of Love. With Senja, you can easily add a G2 Reviews feed to any website without a single line of code or custom plugins.
In this guide, we'll use one of their free review widgets to add your G2 Reviews to your Webflow website, no plugins required!

How it works
Create a Senja account and import your G2 Reviews
Create a free and customizable testimonial widget that matches your brand
Add it to your Webflow website by copying and pasting the embed code
Step 1: Import your testimonials
Visit the Senja dashboard and sign up for an account. It's free and only takes 2 minutes.
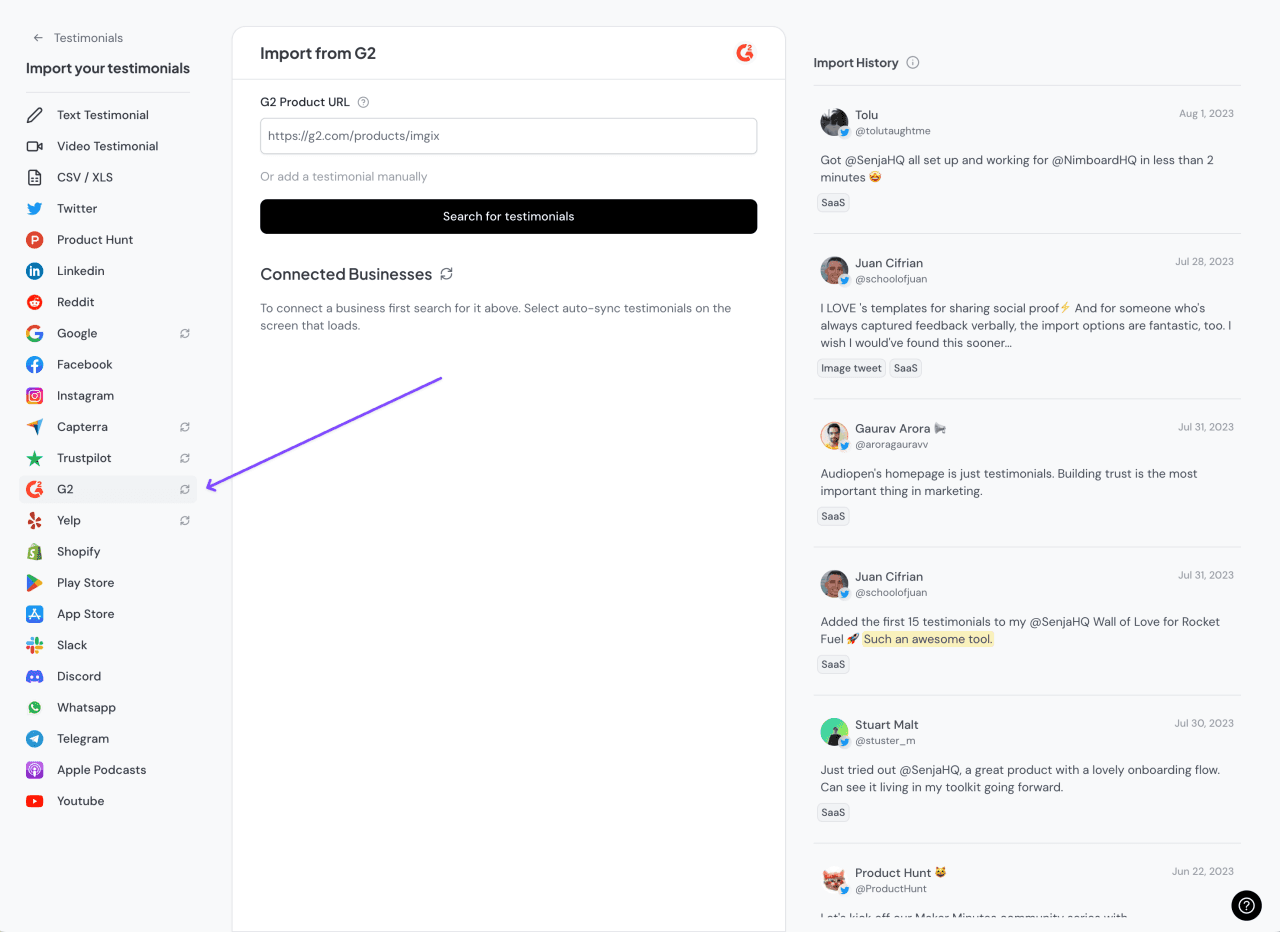
Now search for your G2 listing by typing in the URL of your G2 page. An example would be "https://g2.com/products/imgix"
Senja will use this to find all your G2 reviews.
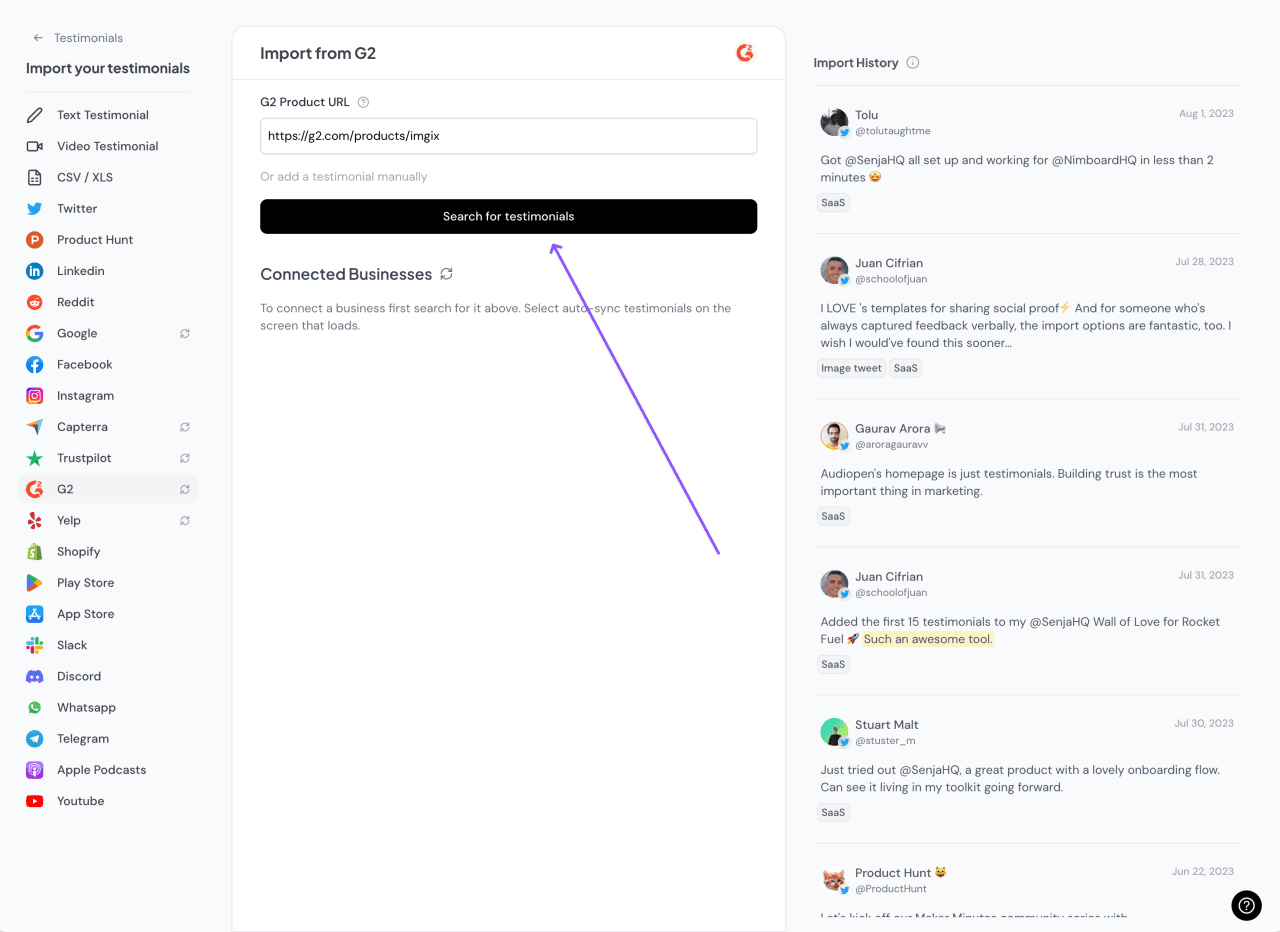
Click on the "Get Testimonials" button and select the testimonials you want to add to your Senja account.
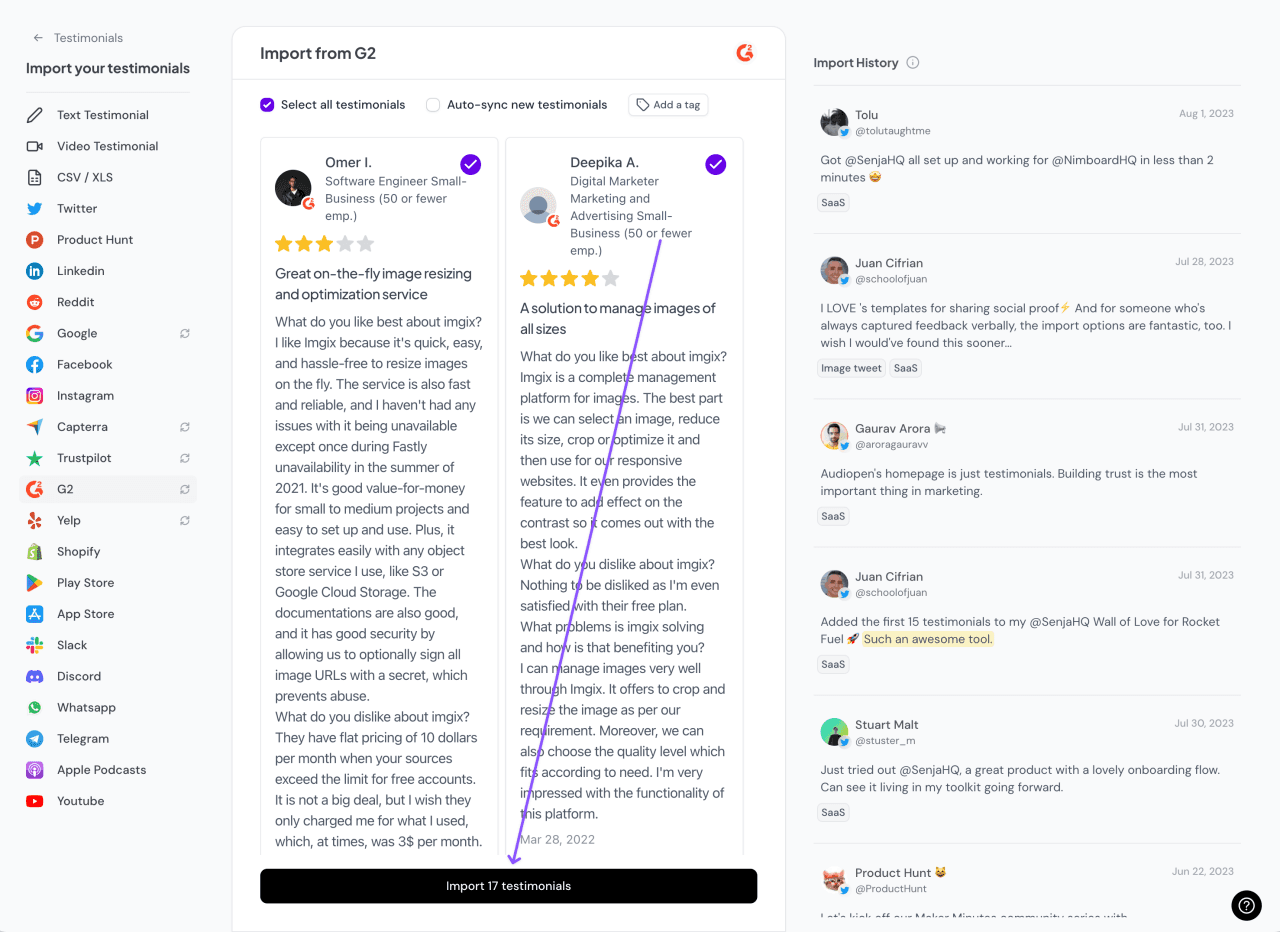
If you want Senja to keep your G2 reviews in sync, click on the "Auto-sync new testimonials" checkbox. This way, all new positive and negative g2 reviews that people leave on your G2 listing will show up in your Senja account and review feed.
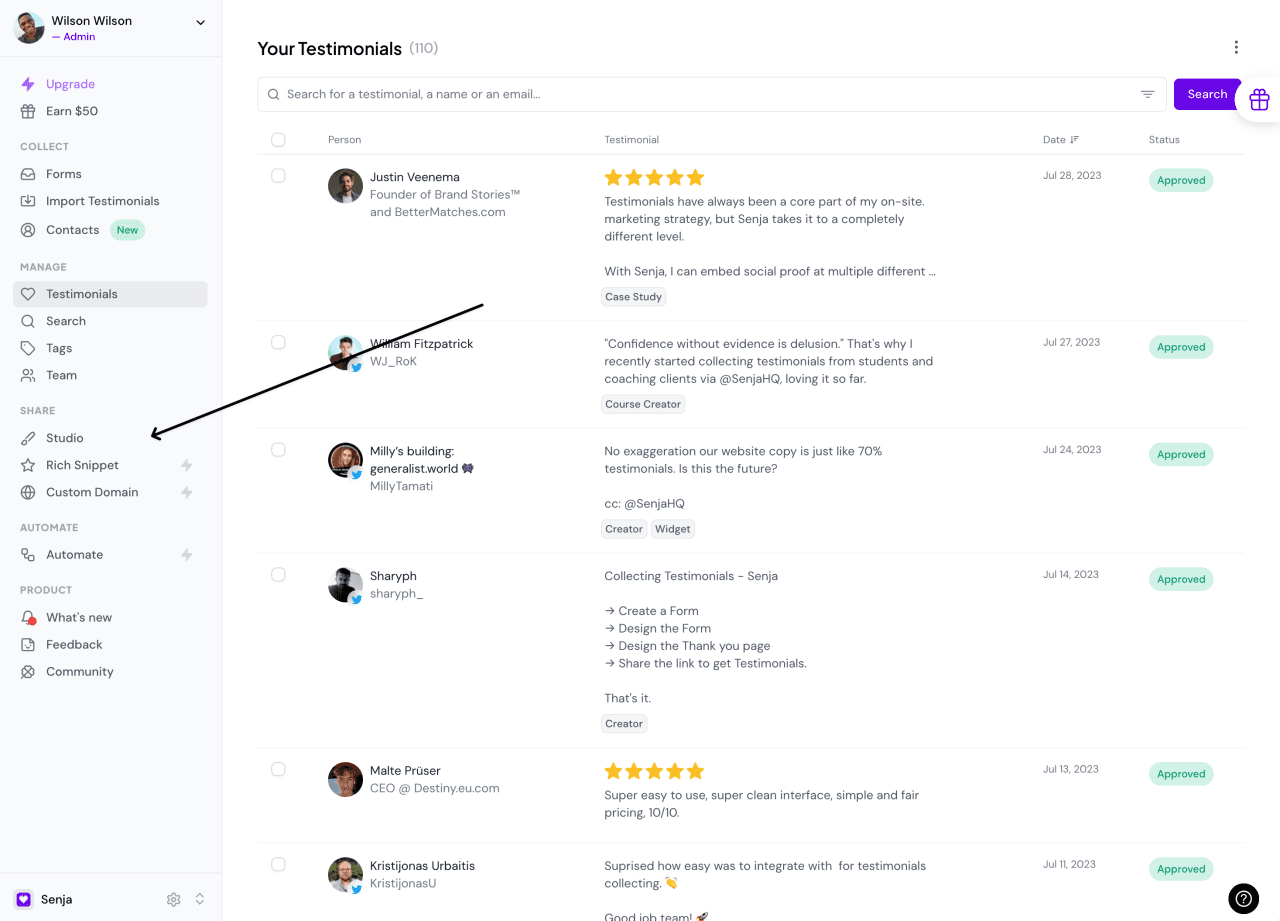
Now you should see all the G2 Reviews you imported in your Senja account. That's all for step one! Now let's add your G2 Reviews to your Webflow website.🎉
Step 2. Create a widget for your G2 Reviews
Now that you've imported your testimonials, you can finally add them to your website.
To do this, we'll create a Senja widget. Don't worry, the process will only take a couple minutes.
To get started, click on the Studio button in the Senja sidebar.
Immediately, you'll see all the sharing options available in Senja.

Other than embedding your G2 Reviews on your Webflow website, Senja lets you create beautiful images you can post on social media, as well as stunning Walls of Love that you can use to showcase your best G2 Reviews.
Since we're trying to embed G2 Reviews on our website, let's click on the widgets tab.

Now you can select a widget template you want. For this example, I'll use this grid widget.

I want to put my G2 Reviews on my home page, so I'll call this widget "Home Page Testimonials" and hit the "Create Widget" button.

And you're done! Now you already have this beautiful testimonial widget that you can add to any page of your website.
Senja has dozens of templates and customization options to choose from. You can pick any of them and see how your widget looks.

You can also customize the colors (background color, link color, text color etc), shape and style of any widget to match your website's design perfectly 🎨

Step 3: Embed the widget on your website
Senja integrates with every website builder that supports custom HTML or URL embeds, including Webflow.
We have detailed instructions for the most popular website builders like WordPress, Webflow, Wix and Squarespace.
Check out our help center to learn how to install it on your website builder.To get started, click on the share button at the top-right of the page.Now copy the embed code you see on the screen.
In Senja
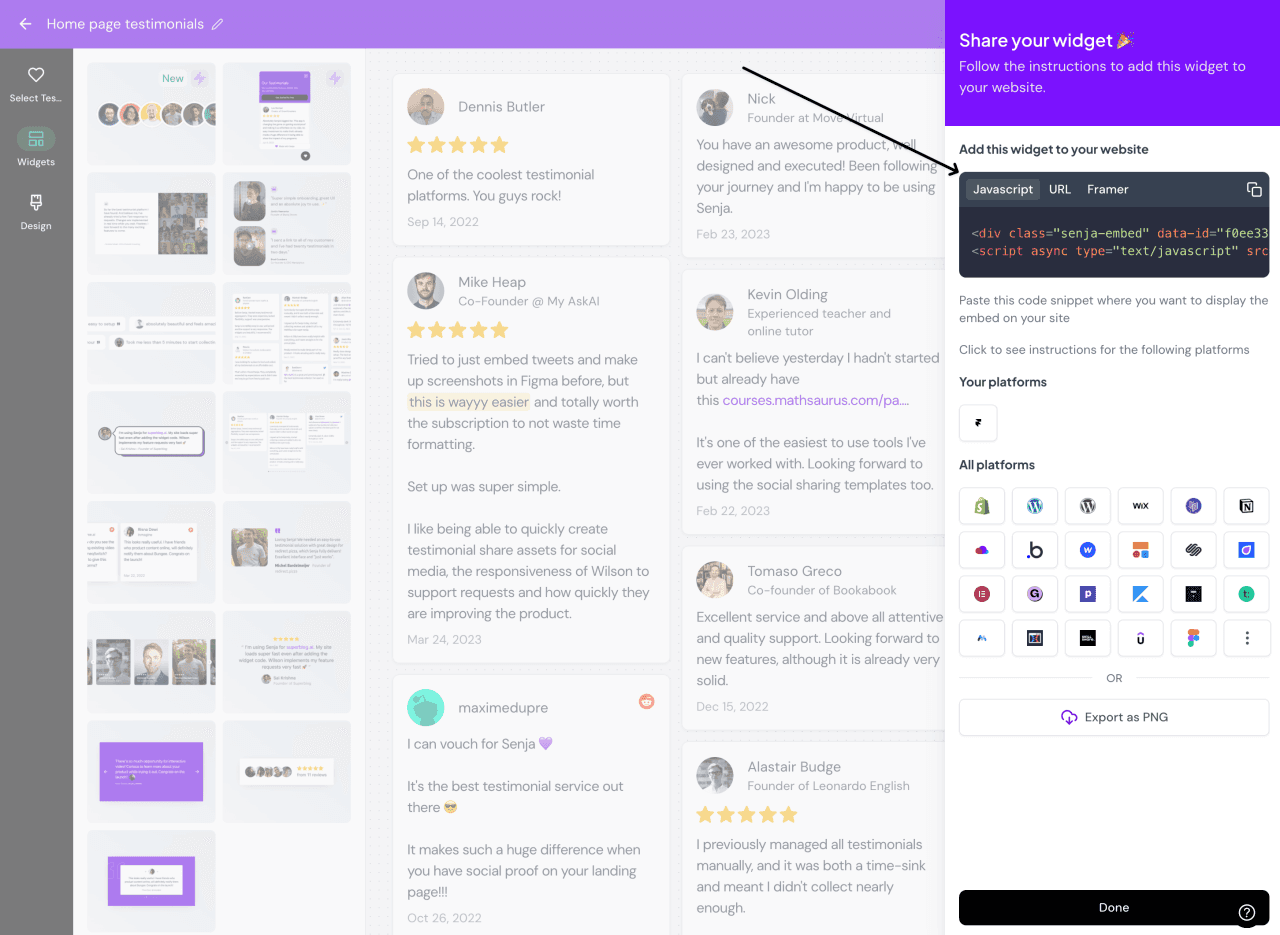
Click on the share button at the top-right of the Senja testimonial widget studio.

A panel will open up that'll show you how to share your widget.
Copy the code.
In Webflow
Go to the WebFlow page where you want to add your testimonial widget.
Add a new Webflow Section
Add a new Webflow Container inside the Section
Add Embed inside the Container
Paste your Widget code into the Embed modal
Save your page, and hit Preview
Your testimonials are added to your Webflow website